A comprehensive guide to installing macros in Bloody WorkShop 8
A4Tech has been refining its software for gaming mice for some time now, and the latest version – Bloody WorkShop 8 – has enhanced various aspects of macro functionality. You can now assign each mouse button according to your preference. However, if your mouse worked perfectly with Bloody 7, you might choose to stick with it – especially if your device is already stable. But if you’re ready to try the new software, the guide below covers every step of importing and loading macros, whether for standard button commands or special modes (such as LMB activation or modes 1, 3, N).
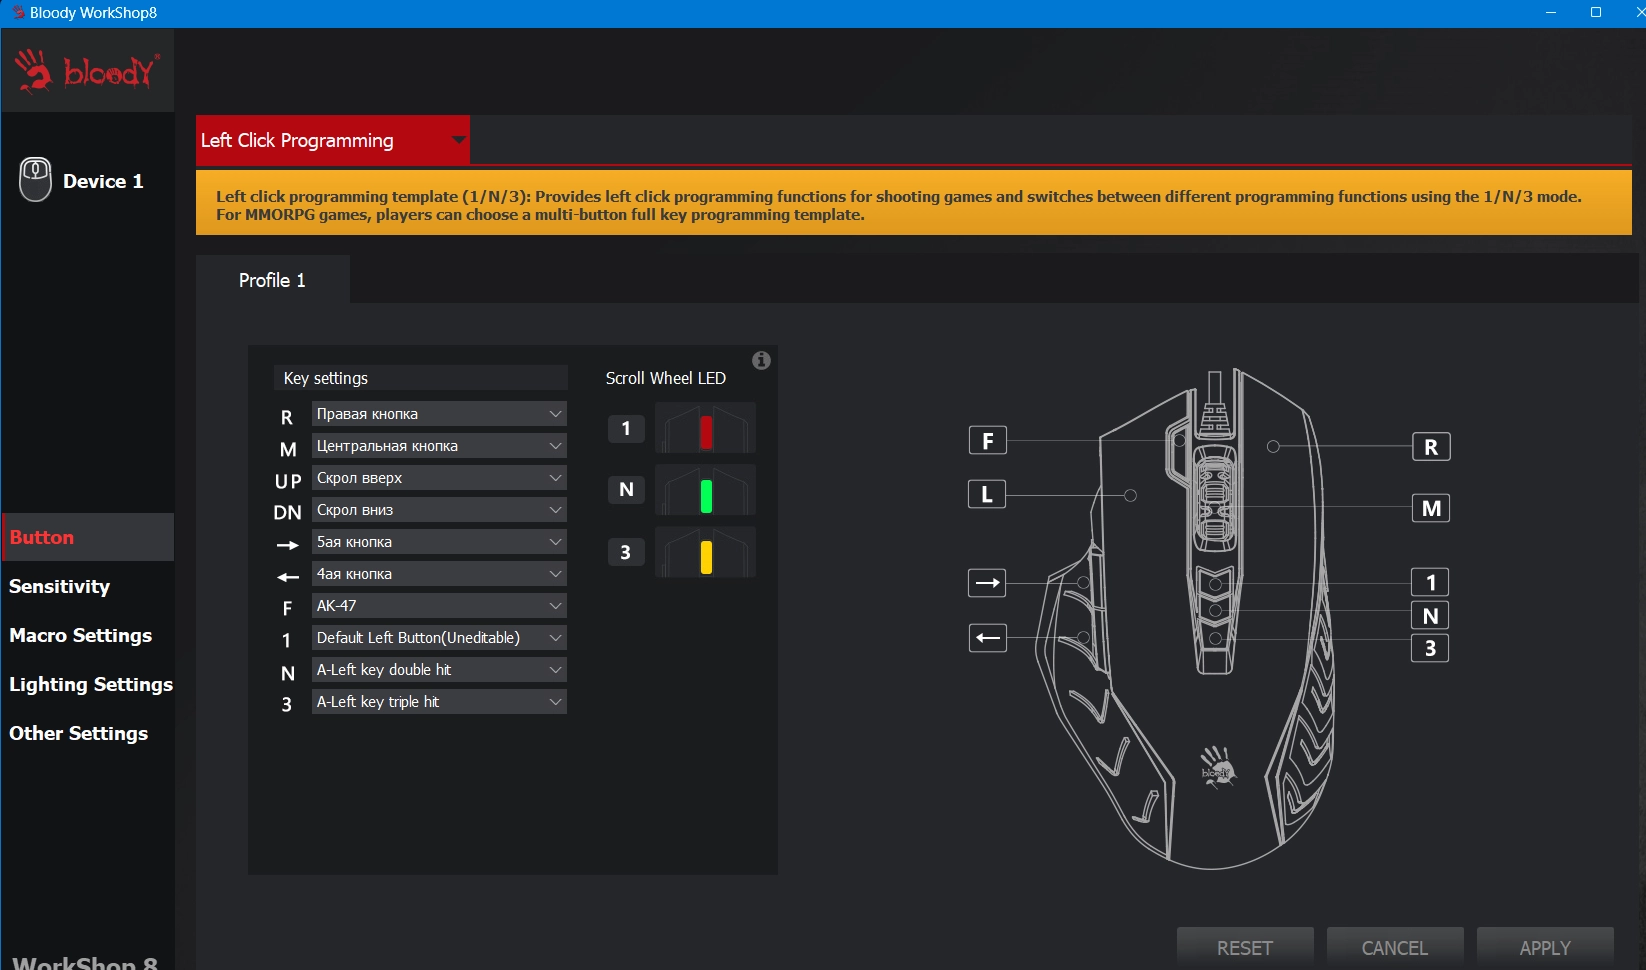
Download the stable version of Bloody WorkShop 8 from the official A4Tech Bloody website or another trusted source. If you previously had an older version installed, agree to the update. Launch the program and switch your mouse to Full Key Programming mode – this allows you to load up to nine macros simultaneously. This mode enables access to the “Buttons” tab for configuring both standard and mode-specific macros.
Ensure that you have your macro files ready – whether they come from previous Bloody versions or are designed for X7 mice. For convenience, you might store these files on your desktop.
.webp)
Before importing, create a folder associated with the desired game or profile:
The Bloody 8 software stores macros and folders within its own resources. Editing, creating, and importing can only be done through the program’s interface.
Within Macro Settings, choose the “External File” option. Locate your pre-prepared macro file – it can be in any folder of your choice (by default, the software will look on the desktop).
Select the desired file and click the arrow icon to transfer the macro into the program’s left panel. Note that after a successful import, the macro may not display additional messages, but it will be loaded into the workspace.
Click “OK” to complete the process. If the specified folder contains macros, they will appear in the program window, ready for further use.
Once imported, the next step is to assign the macros to specific buttons:
.webp)
Standard macros will execute immediately when you press the button to which they are assigned.
In this way, the selected macro will be loaded onto your mouse and ready for use.
Bloody WorkShop 8 now allows you to assign macros not only to standard buttons but also to special mode buttons, which function just like regular programmable buttons.
Please note that not all devices support macro installation. For example, some new wireless models (such as the R series mice using Bloody Wireless M-Esports Editor) or devices from the esports lineup (e.g. the X series like X5 Pro, X5 Max) do not have this feature.
Before purchasing a device, we recommend visiting the official Bloody.com “Downloads” section to check which software is supported for your specific model. Currently, macros are supported by programs such as Bloody 7, Bloody WorkShop 8, and Bloody ESports.
If macros stop working or settings fail to save in the new software, try completely uninstalling all versions of Bloody 6, 7, and 8 from your computer. Then, visit bloody.com to download the latest version of the software. Remember to run WorkShop 8 as an administrator. If nothing helps, it might be best to revert to Bloody 7 – as WorkShop 8 is still under development, occasional bugs may occur.
In the updated Bloody WorkShop 8, installing macros has become significantly easier – simply create a folder for the desired profile, import your macro files, and assign them to buttons or special modes in Full Key Programming. Following this guide, even beginners can effortlessly learn to navigate the software and configure optimal settings for their gaming devices.
We hope this guide on configuring your Bloody 8 mouse helps you maximize the capabilities of Bloody WorkShop 8 and enjoy gaming with correctly configured macros.
Video Tutorial